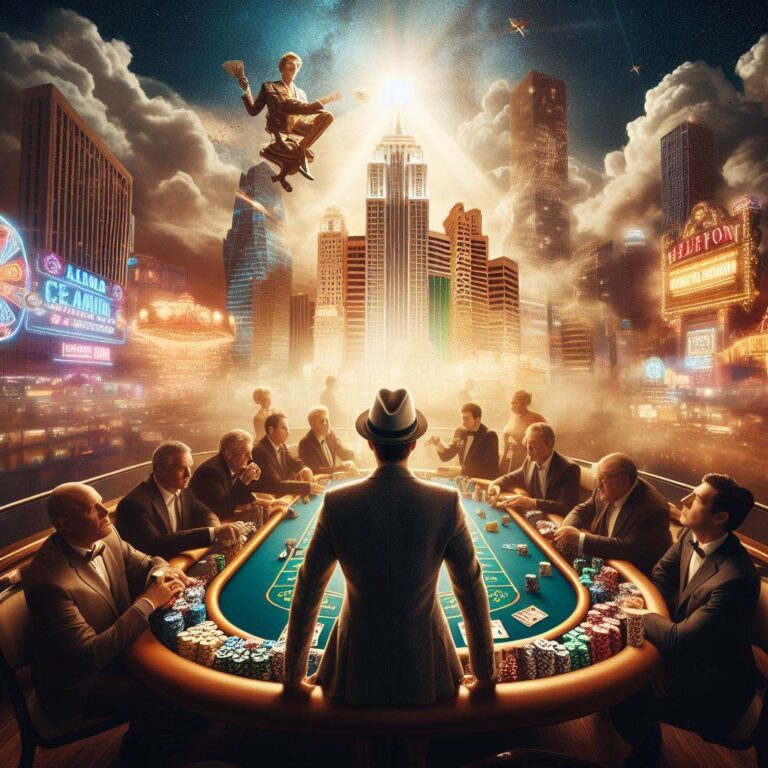
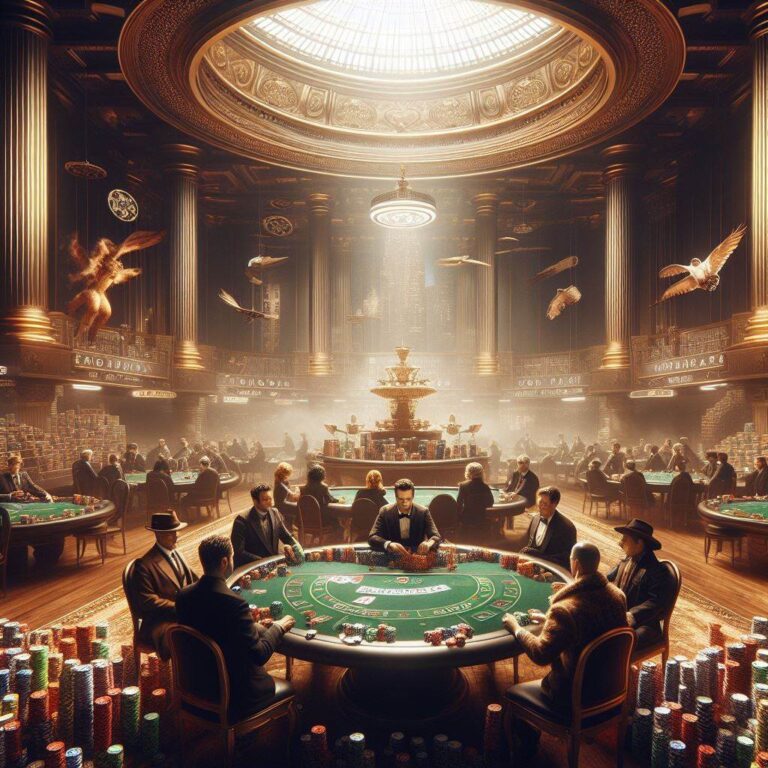
How to Install TV on Desi Zone Kodi Addon

The Bollywood industry is rising dramatically fast. Unfortunately, you could hardly find any Bollywood movies or TV shows on Kodi.
In this article, you will be instructed on how to Install TV on Desi Zone Kodi add-on. Just to clarify though, the add-on does not form a part of Kodi, so steps below are to guide you on how to obtain the add-on set-up file from an external source and install it accordingly.
Anyway, without further ado, let’s begin.
Also read: How to install players klub addon on Kodi

How to install Desizone on Kodi
Enable Unknown sources
To install any add-on, the system needs permission to download install files from unknown sources which aren’t parts of Kodi. If you didn’t know how to do so, below is the instruction:
Step 1
Locate the cog icon on the left side of Kodi homepage and click on it to access more setting options

Step 2
Click on System at the bottom of the settings interface
Step 3
Once you are in Settings/System interface, highlight Add-ons on the left so that system options are displayed on the right.
Step 4
There should be an option named Unknown sources on the third row. To swipe the button to the right to enable the option, click on it.
Step 5
After that, select yes when a warning message asking if you are sure about allowing the system to download from unknown sources.
Installing Desizone on Demand
Desizone is not a part of Kodi. So, to install the add-on, the system needs to obtain the setup file from an external source and does the additional installation. Below is how to obtain the necessary zip file for Desizone and how to install it.
Step 1
In Kodi main homepage, locate the option to Add source which should be at the bottom.
Step 2
Type “http://fusion.tvaddons.ag/ and name the file as “*fusion” without the quotation marks in the respective empty spaces for pathway and name. Give the system several minutes to locate the file and download it.
Step 3
Once you see a message at the top right corner indicating the download is completed, go to Add-ons browser to start the installation. To access add-ons browser, locate the option in Add-ons main interface.
Step 4
Within Add-ons browser you will find the option to install from Zip file. After clicking on it, there will be a screen with the zip file you just downloaded with the name *fusion. Tap on it and click on the repository. If the file isn’t there, you might have had a spelling error when you downloaded the file.
Step 5
Click on Install from repository after you see the message informing you that the add-on has been installed.
Step 6
Look for *fusion again once you have accessed repository installation settings. Next, find Video add-ons, and scroll down to indian-repository.aj-addons-2.1.0.zip.
Tap on it and then go back to my add-ons and locate aj add-ons and click. By the way, there will be other zip files packed within, so if you have time later and feeling adventurous, remember to browse around and see if there is anything you like in the other packages.
Step 7
You shall find TV on DESI ZONE inside aj add-ons. Click on to bring up the add-on installation box. Click on the installation button and let the system does its thing.
Step 8
Now, this step is optional, but it might be needed for several reasons. You need to turn on VPN before you start streaming content within the add-on. There might be a region-blocked issue, so VPN helps but more importantly when you stream content, you might want to protect your privacy information.
Step 9
The installation has been completed folks. You can access Desizone by going to video on Kodi main homepage, select add-on and there will Desizone right there. Click on the Desizone icon to access the TV channels for loads of Indian entertainment contents.
Note
The add-on is always being updated by the developer, so make sure you are aware which version of the add-on has your interested shows. So the ending installation might be different from every other version.
Depending on the Kodi version you are using, what you see on your screen might be slightly different. However, the general steps are to get the add-on file from an external source and install it accordingly.
Also, since the add-on is continuously updated and modified, you might find the layout to be separate from Kodi, or perhaps even morphed into a build.
Bollywood time
There you have it folks, that’s how to install TV on Desi Zone Kodi Addon. It’s a simple process really. There might be quite a bit of steps to cover, but that’s because it is broken down into baby steps for the sake of narration in this article.
Once you get the gist on how it usually works with downloading and installing add-on, you might not even need this guide for the next add-on.
Anyway, as usual, thank you for reading our article. We also have other articles on similar topics, so make sure to check back in later if you are looking for information on related matters.
Leave a comment down below if you have a specific question not covered in this article, and we will get back to you as soon as we possibly could.